When I found out that my second baby would be a little girl, I was thrilled. Not just because I was excited to have a partner in crime to go out for “a pedi and a latte” together, go shopping with, and just generally be girly with, but also because I was looking forward to decorating a girly nursery. As I was prepping for her arrival by putting together her nursery, and creating her older brother’s “big boy room,” one of my goals was to make all the artwork for the rooms myself – simply in the name of saving money.
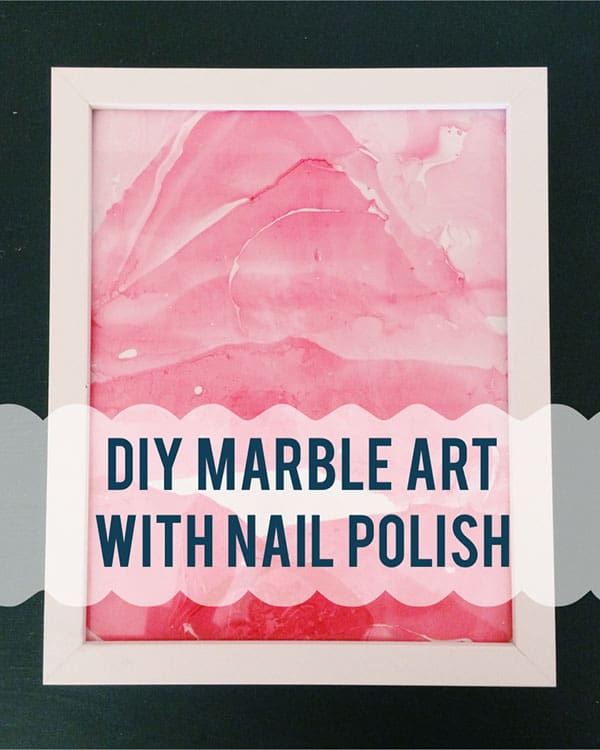
One of the easiest pieces of art I pulled together for baby girl’s room was this DIY marble artwork – using nail polish. It was so simple and is a great way to use up old bottles of nail polish.
Here’s how you can do it too.

All you need is an old container, paper, water and nail polish. You can use one bottle of polish like me and still get variations in color, or use a combination of colors to get an enhanced marbled affect. For the container, disposable is nice, but not necessary, just use something you don’t mind ruining. I used an old plastic bowl I have around for things like this. Also, don’t worry too much about the size. It’s nice to have one that’s as large as your paper, but I know that can be hard to find. I’ll explain later how you can still cover your paper with a “too small” container.

Fill your bucket with water and add in a few drops of nail polish. Depending on the look you want you can experiment with amounts. I just poured the polish into the container in a haphazard fashion.

Working quickly, dip your paper into the bucket. It’s okay if you submerge both sides, but try your best to just let the front of the paper brush the surface of your water/polish combo. Since my container was on the small side, I had to press it down in sections, which is what gave it the ombre affect you see two photos below.

Each time you press it down, the color will fade a bit, until eventually, you can see most of the polish is gone from the water and instead, is clinging to your paper. The pink you see in the bottom of the bowl is just polish that drifted down – which is why you want an old container. That ain’t comin’ out.

After letting it dry for a few hours, the options are endless for what you could do with it! I popped a few in frames, even trying my hand at writing on one with gold marker. I also made a bookmark from a leftover scrap. This would also be an easy way to dress up blank note cards or the cover of a journal!


1 comment
So cool! I love an easy DIY!