


There’s something you should know about me. I’m creative but not crafty. At all. I have no patience. This often presents a problem when I attempt to do some fabulous Pinterest project. It usually turns into a Pinterest fail.
That’s why I really wanted to share with you how I turned my boys’ bedroom from blah to, what I’ll just deem, LEGO fabulous.

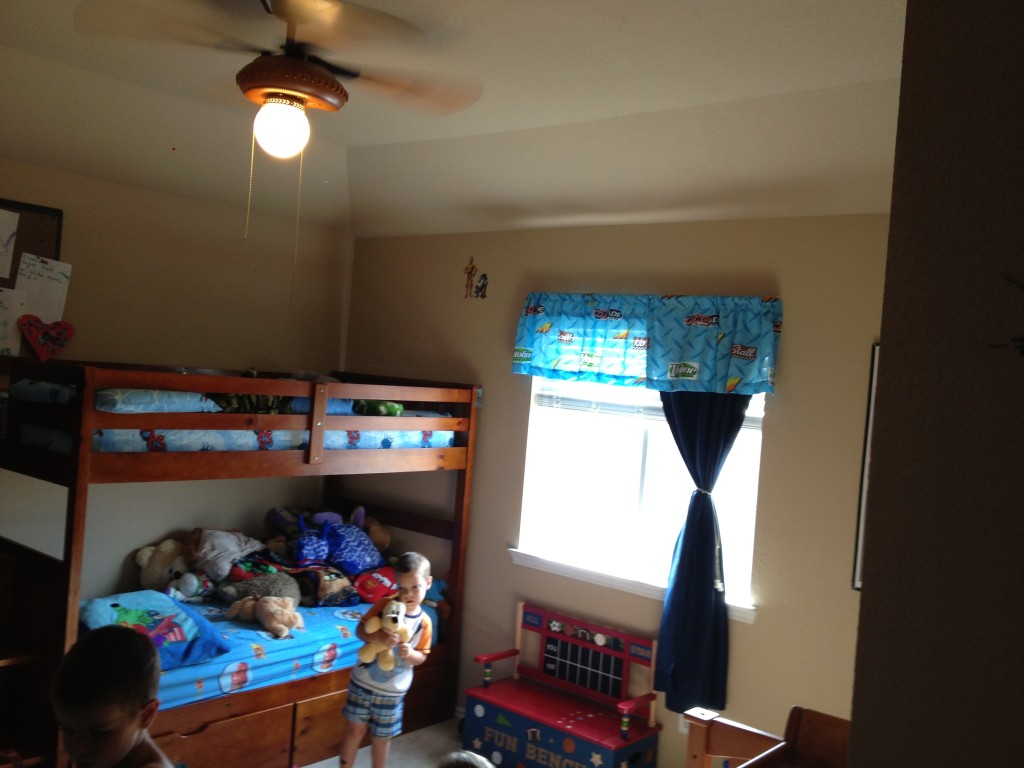
The back story: This summer we decided to move all three of our boys into the same bedroom. Crazy to some, yes. I’ll write a blog post on why we feel like sharing rooms is healthy another day. This (not super large) bedroom now houses a (just turned) two-year-old, a soon-to-be four year old, and a first grader.
At first, finding a theme that fit all three boys seemed like it would be challenging. My oldest was not going to be happy in an Elmo room. Similarly, the two-year old was likely to have nightmares if realistic images of Batman and ninjas were covering his walls. There was really only one good option. It was something that all three boys, especially the older two, were already obsessed with: LEGOs!
LEGOs are so popular this would be super easy, right? No need for creativity. No need for crafts. Yeah, not so much.
I did a few searches for LEGO rooms online and I didn’t find much. What I found was really great. Oh, yeah, and also really (crazy) expensive and impossible for someone without a lot of resources and fantastic carpentry skills to pull off. Not to mention the fact that completely covering our walls with giant LEGO building plates was not really the look I was going for.
Then, I thought, maybe I can do it with fabric? So, I searched for LEGO fabric. Doesn’t exist in this country. You can buy a cute LEGO bedding set that features minifigures from Bed, Bath, and Beyond. Yet, a sheet set and one accent pillow weren’t going to be enough to make my room LEGO-fied.
This was going to be more of a challenge than I had planned…

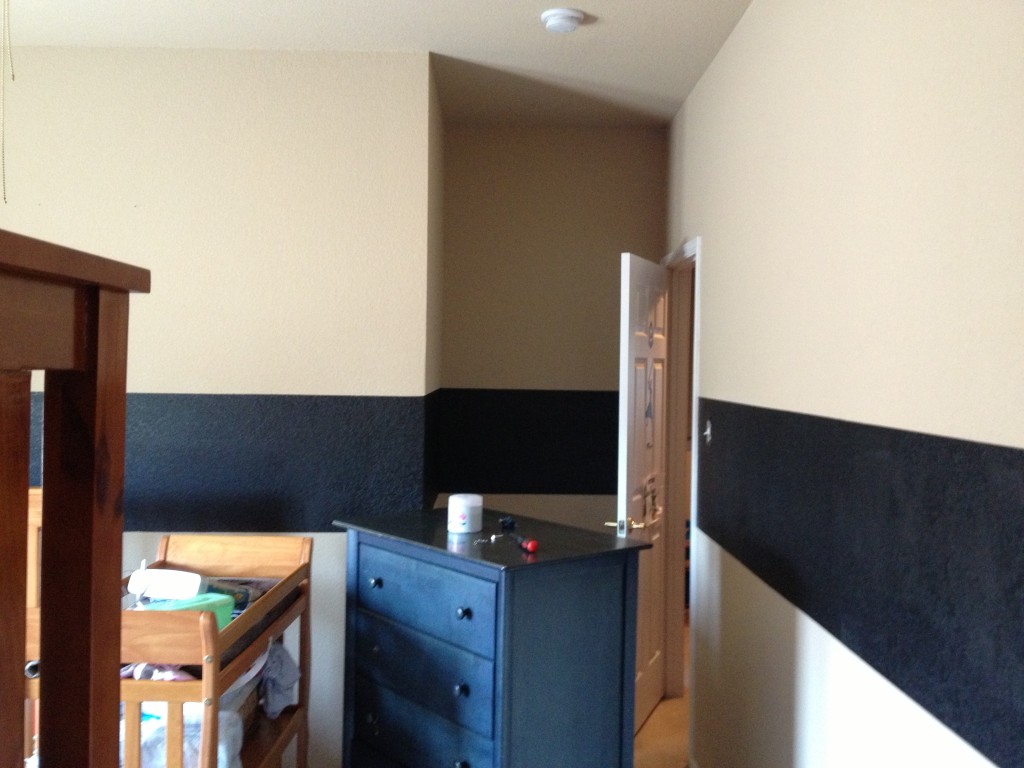
There was one room example I found online that I liked. It was from a model home and it worked well as a starting place for me because our walls were already painted khaki. I knew It would be challenging to work in the bright primary colors that are traditionally associated with LEGOs with my warm, tan walls. So, I copied this idea and went to Lowe’s and purchased black, bright red, bright blue, and yellow paint.
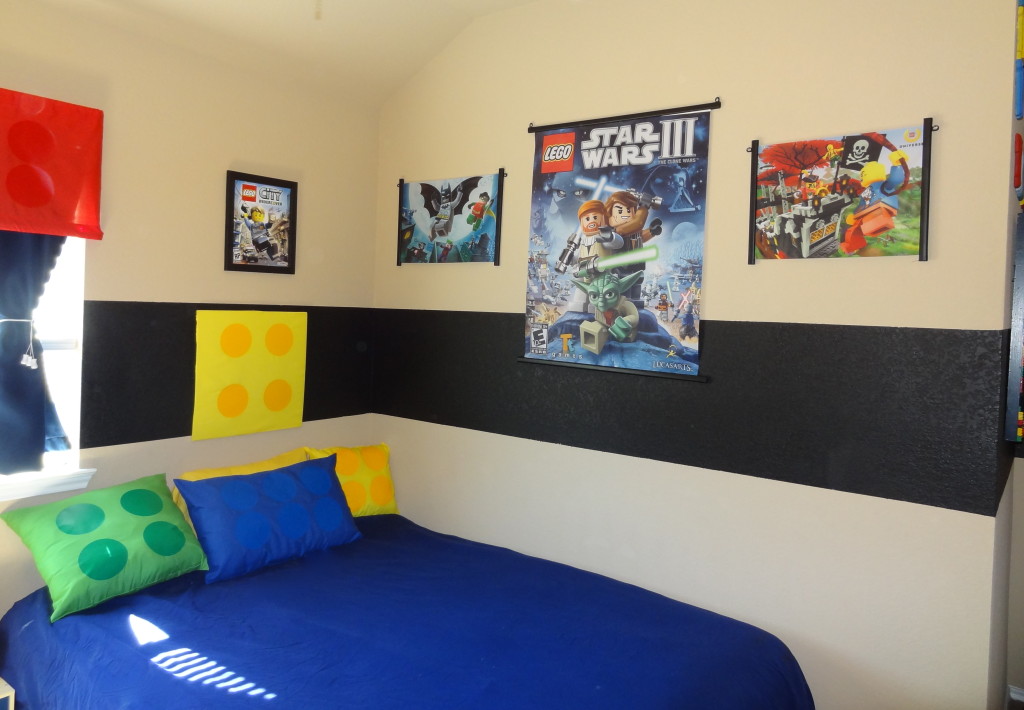
I started by painting a thick black (it’s a less than 2 feet wide) stripe on every wall in the room. This gave me a cooler base color to work off of and added some interesting dimension to the boys’ room.
Next, I ordered some posters from Amazon. (Super crafty, I know.). Another LEGO room ideas page had recommended ordering the scroll fabric posters. They hang a little easier than a traditional poster and you don’t have to mess with framing anything. Price wise, they were reasonable and they were super easy! I also ordered a couple traditional posters just to take up some additional wall space!
I then ordered some light switch plate covers from ebay here. I was expecting them to be more three-dimensional but, for the price, I think they do the job just fine and add a cute detail.

Now, it was time to work on some of the DIY projects I knew the room would need.
My original plan was to try to paint LEGO bricks on the wall like my sample picture. But after painting a plain stripe, I was reminded that I have no drawing or painting ability and my LEGOs would probably not be recognizable. It was time to get creative.
Here are some of the LEGO decorating projects I did. I bet you can do it too. (And, probably oh, so much better…)
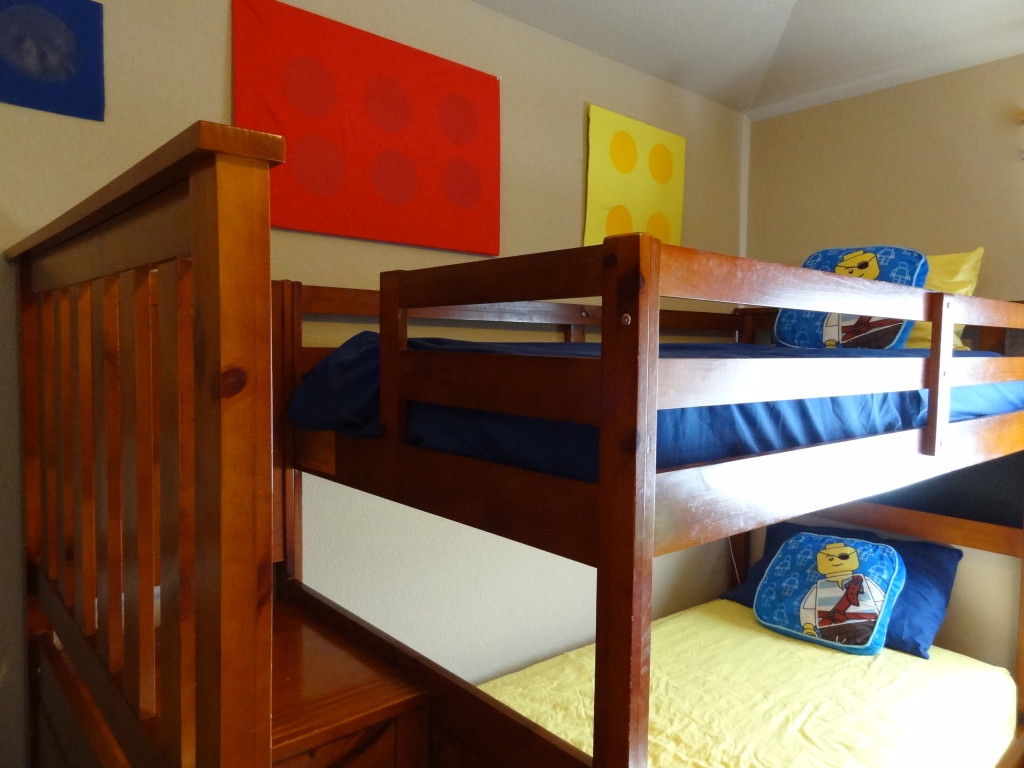
Project 1: Lego Wall Art
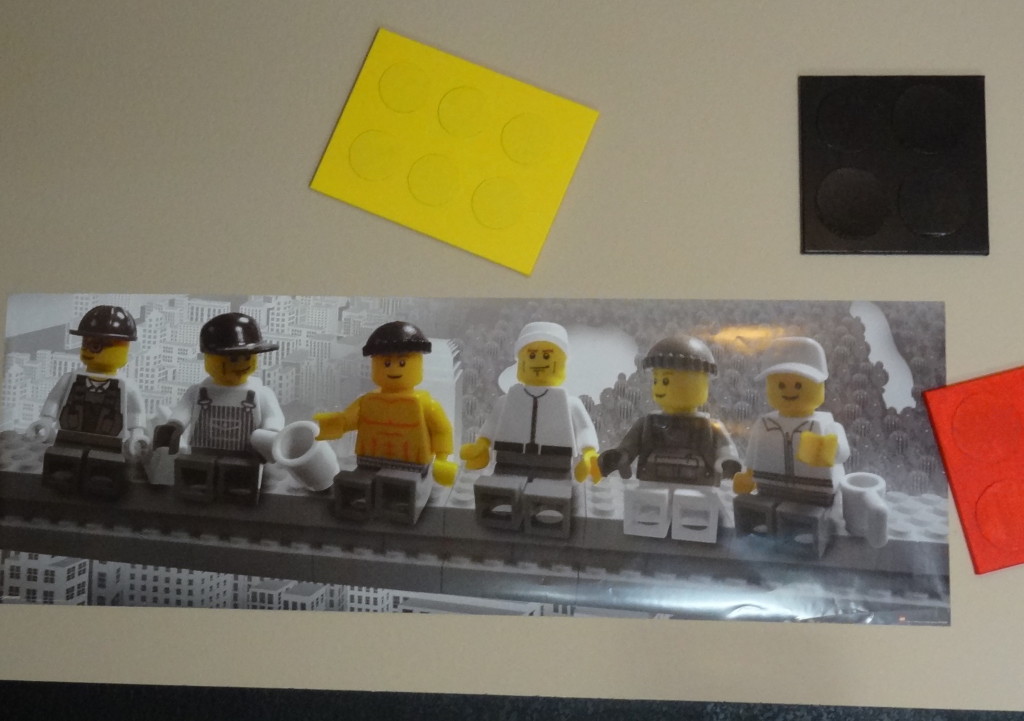
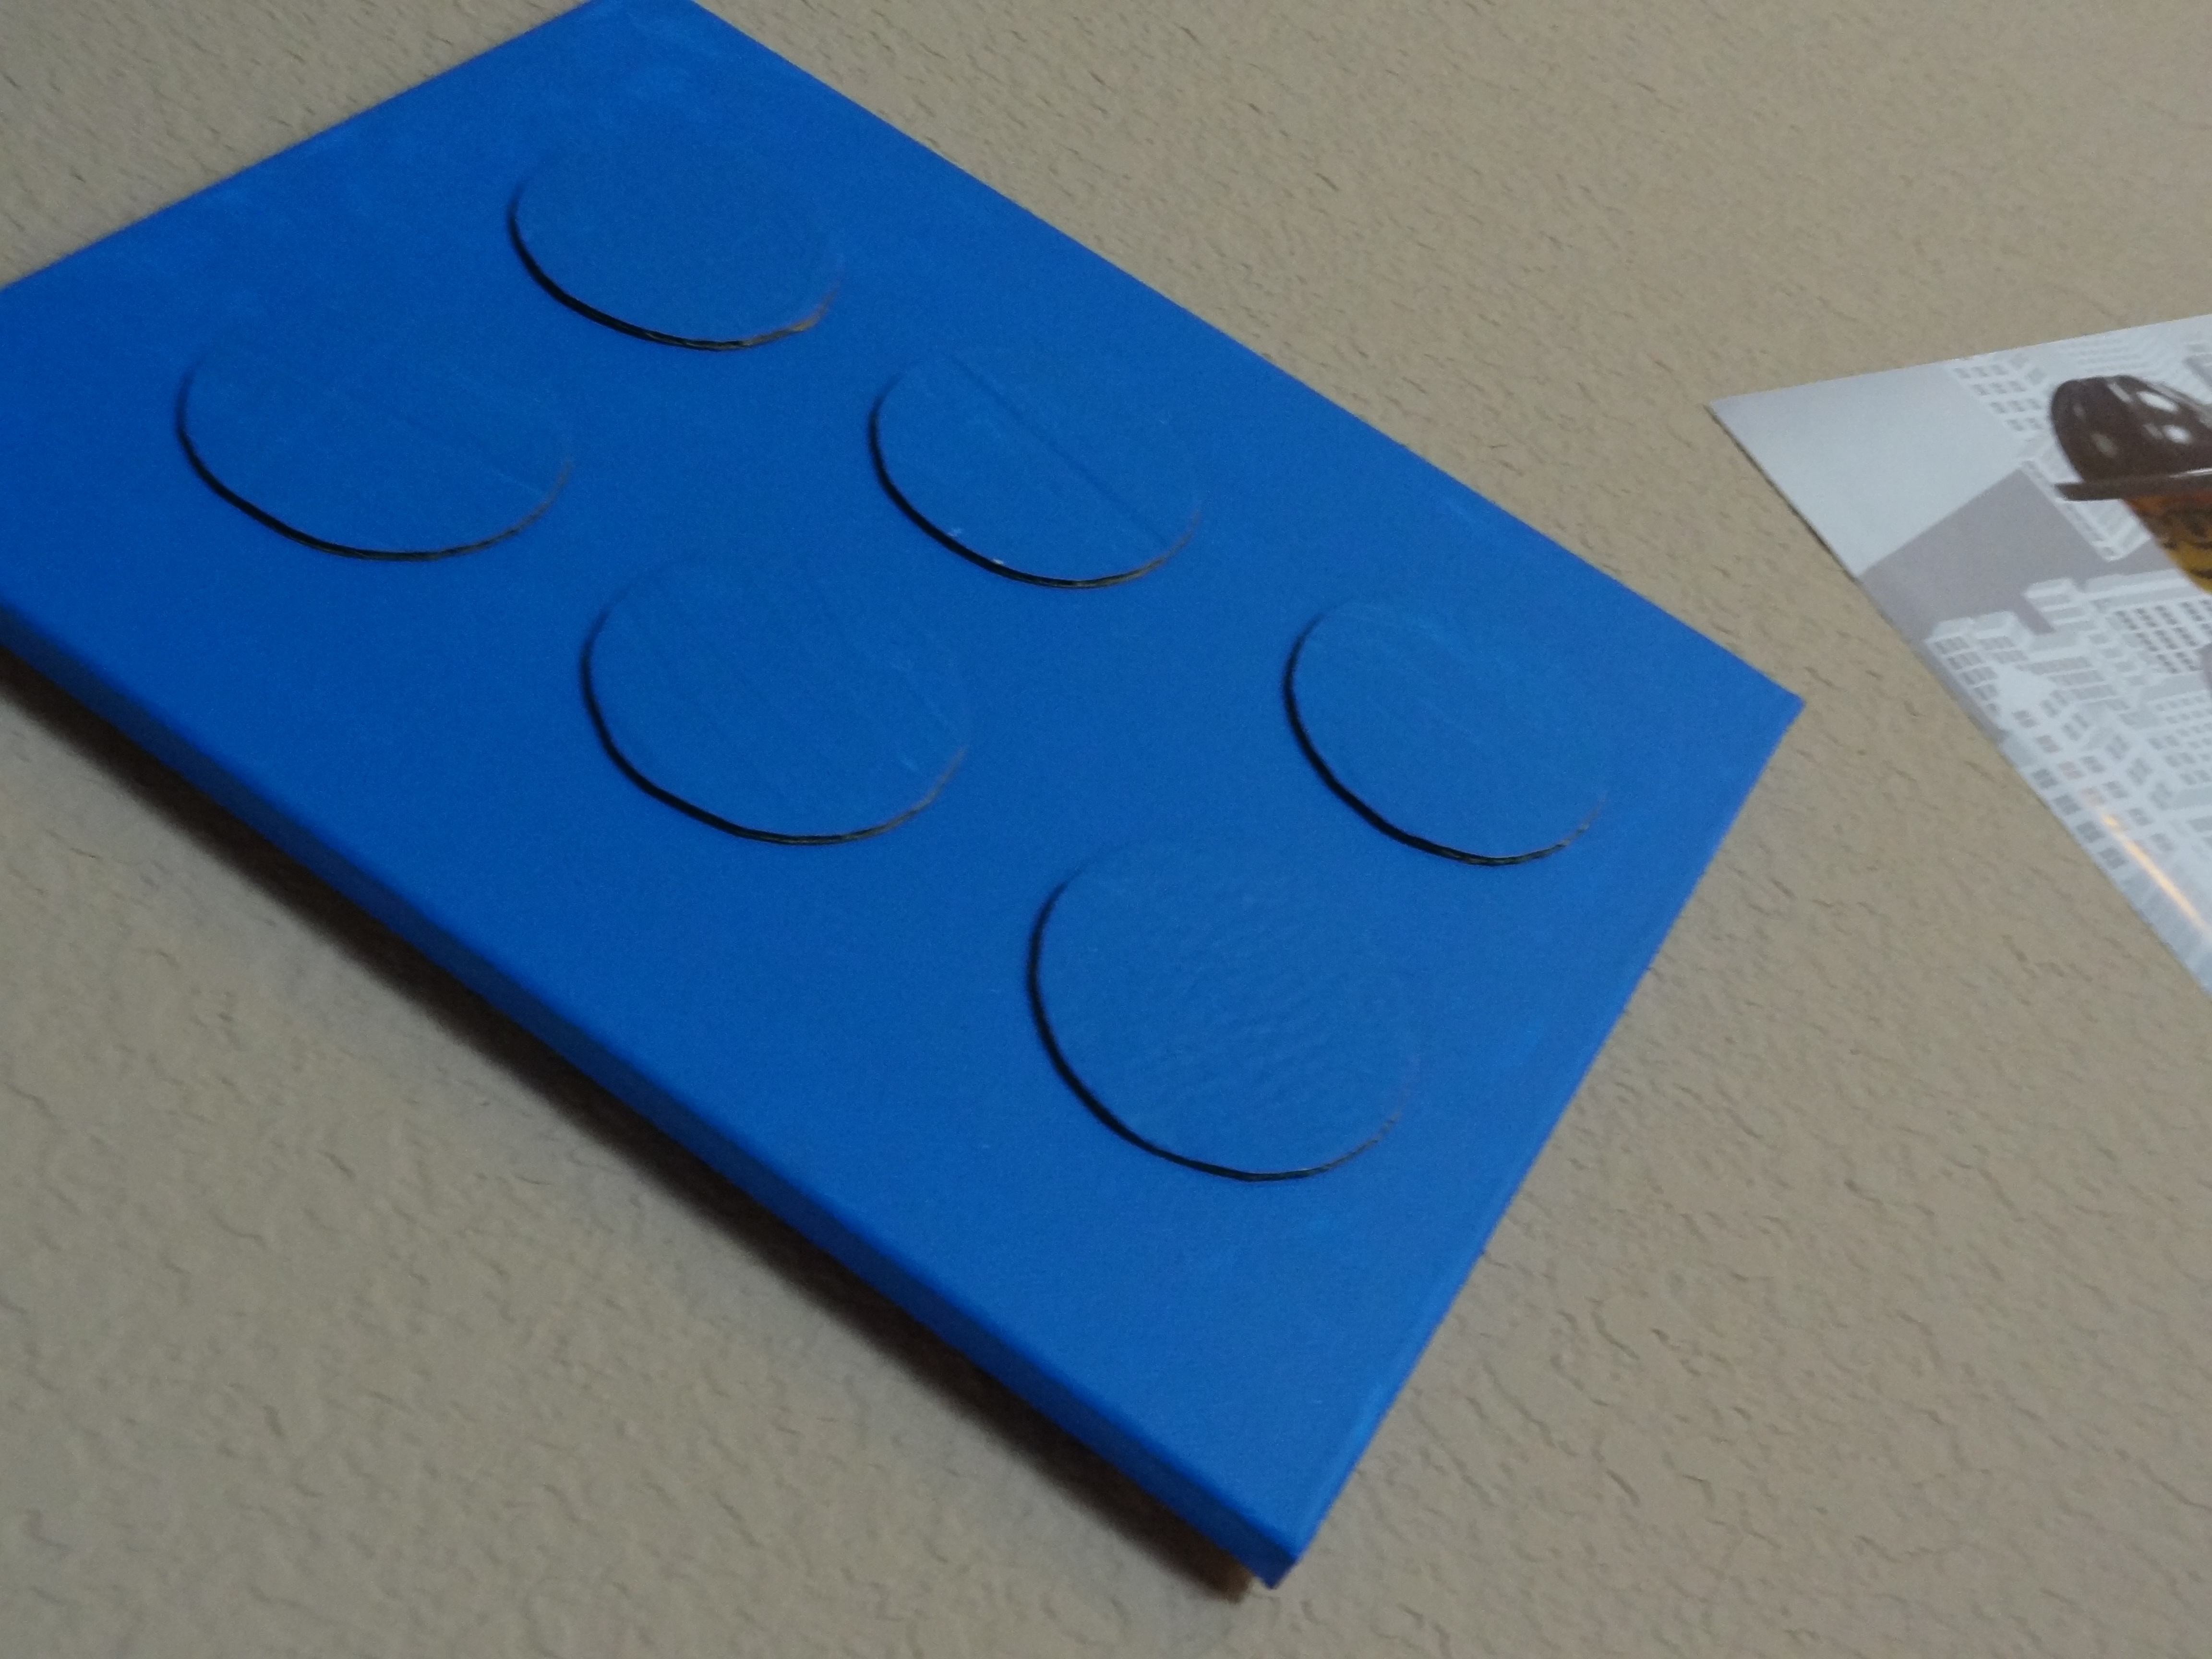
Michael’s was having a huge sale on blank canvases. I bought some rectangles and some squares and painted them with some primary color paint samples I had purchased at Lowe’s. My older children helped me paint them. I then used a plastic bowl as my model and cut circles out of a cardboard box. Then, I painted them. I let everything dry, then glued them on to my canvas to make them look like LEGOs.
Project 2: LEGO Details
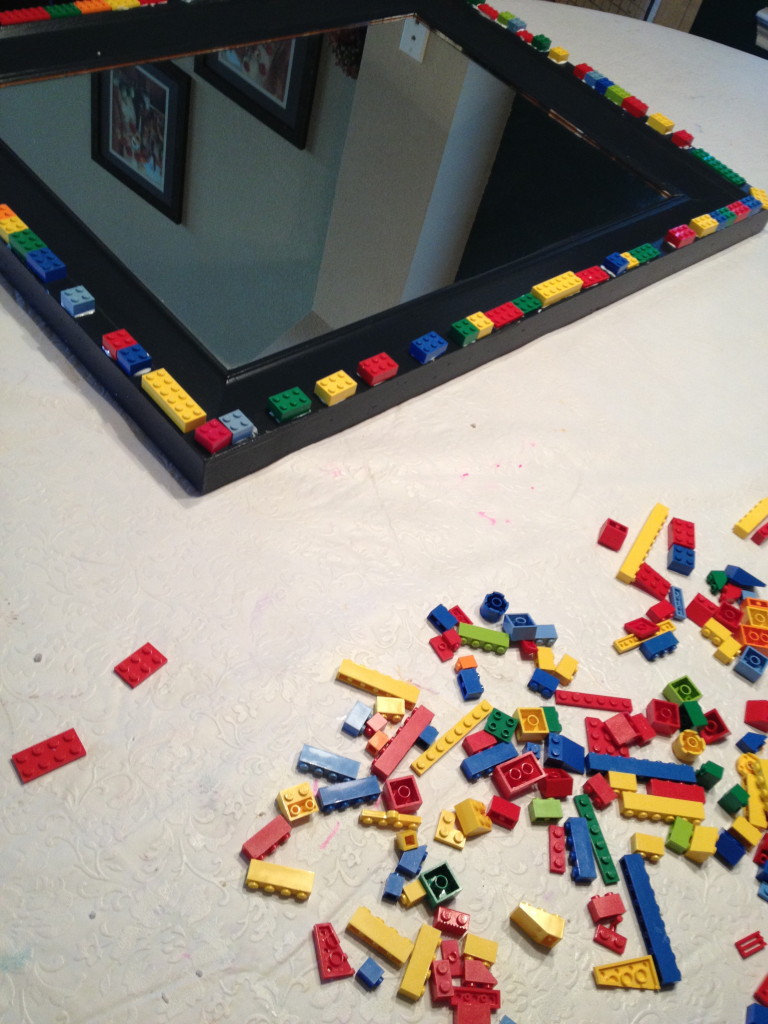
I wanted to uses some actual LEGOs to add details to the room. So, I purchased a box of 500 primary color LEGOs on an ebay auction for about $16. When they arrived, I put my oldest son to work glueing them onto some of the decorative pieces that were already in the room.
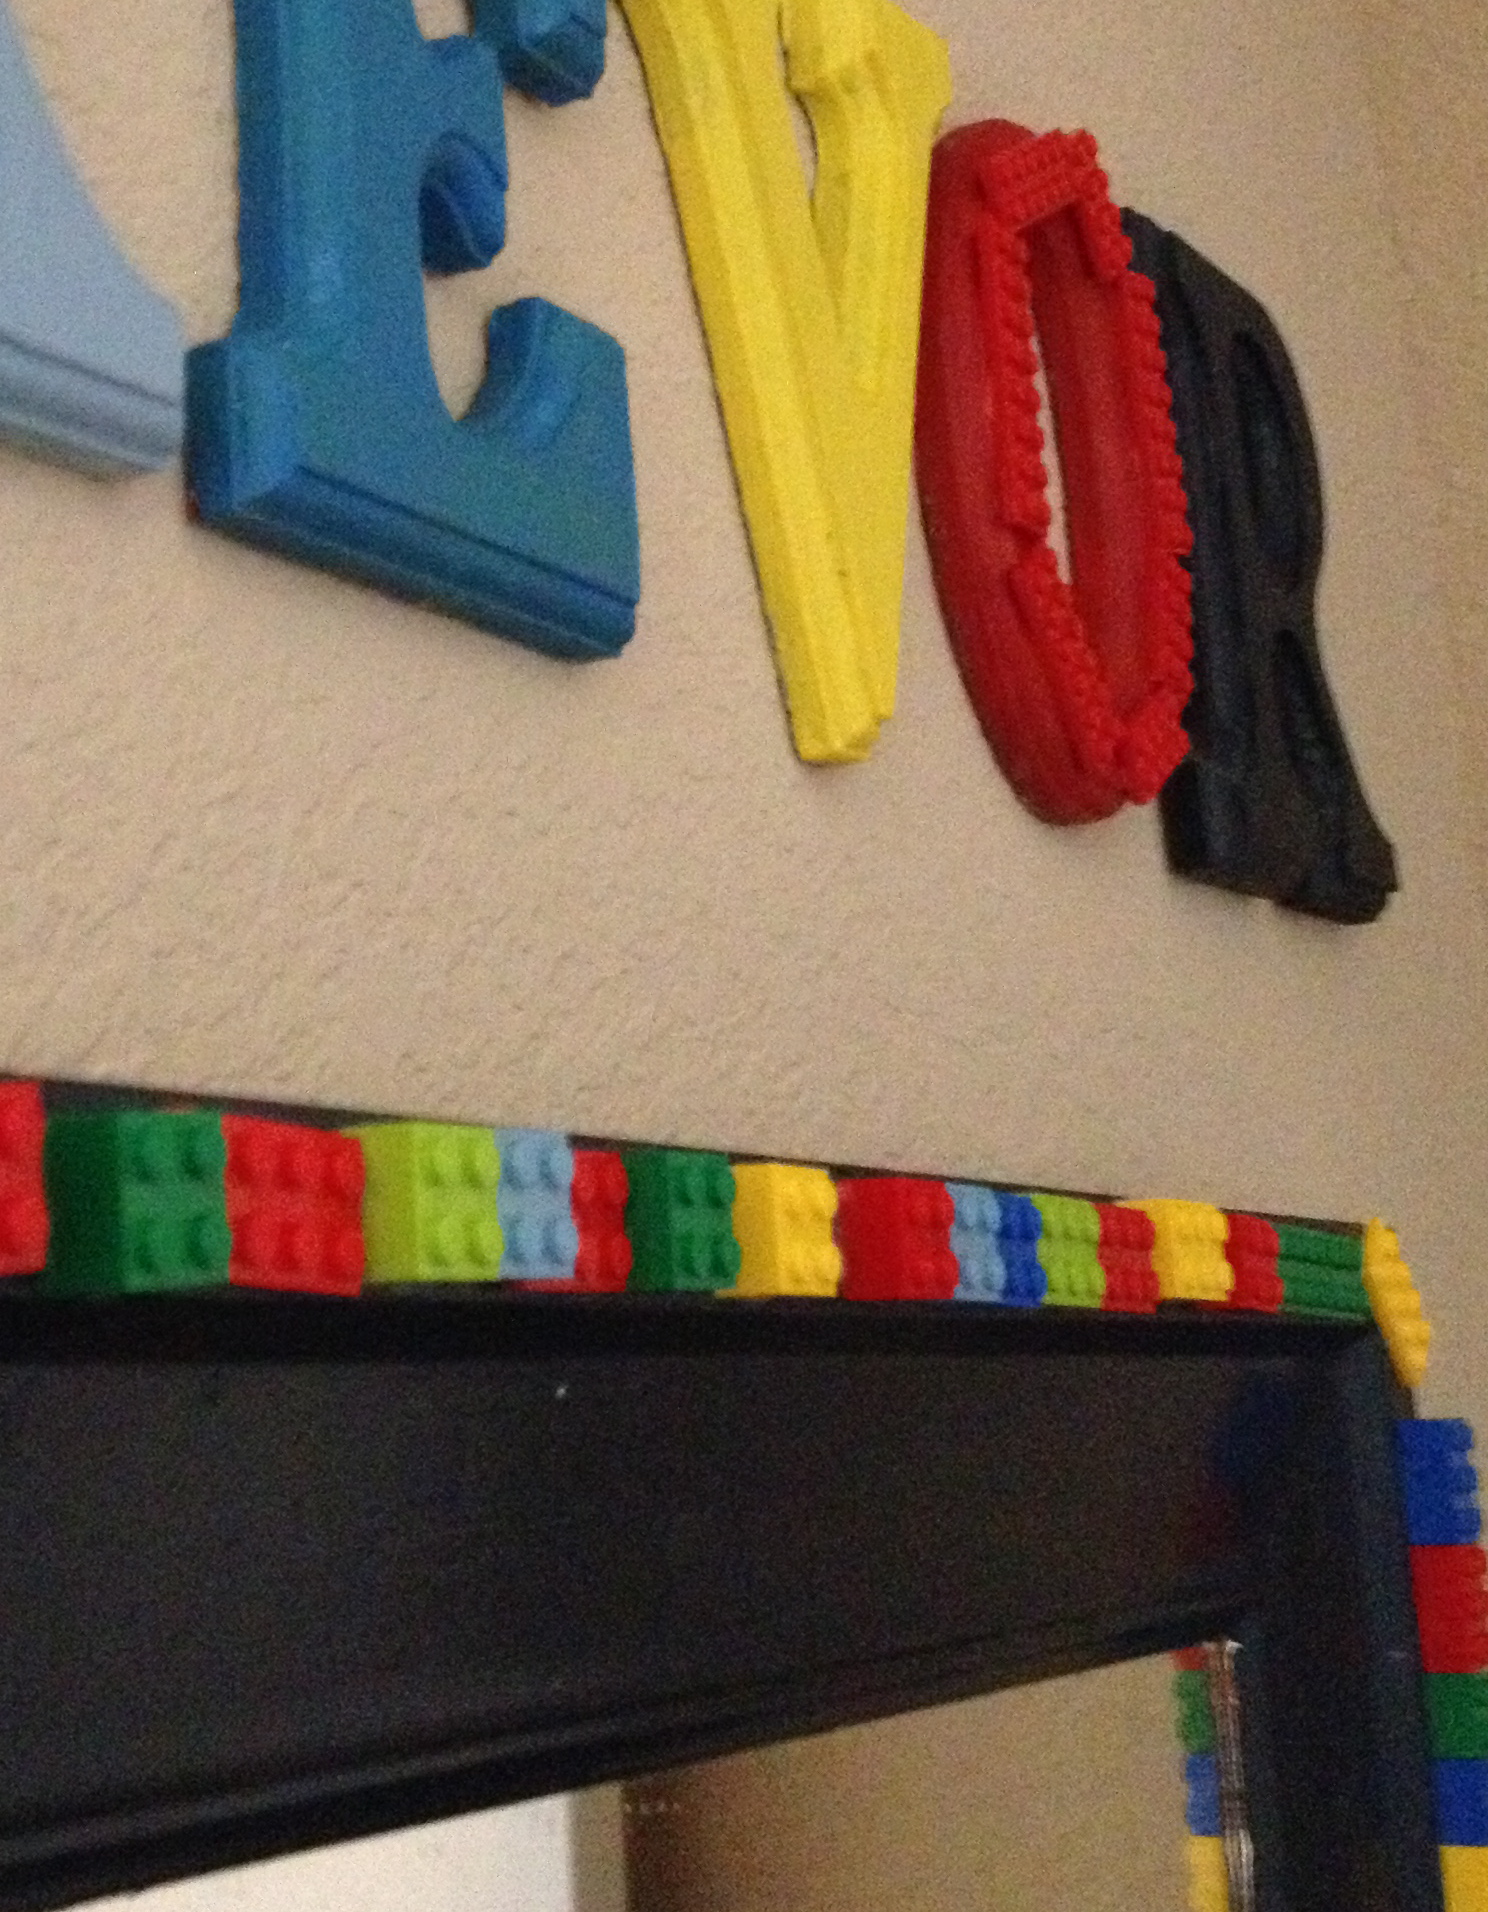
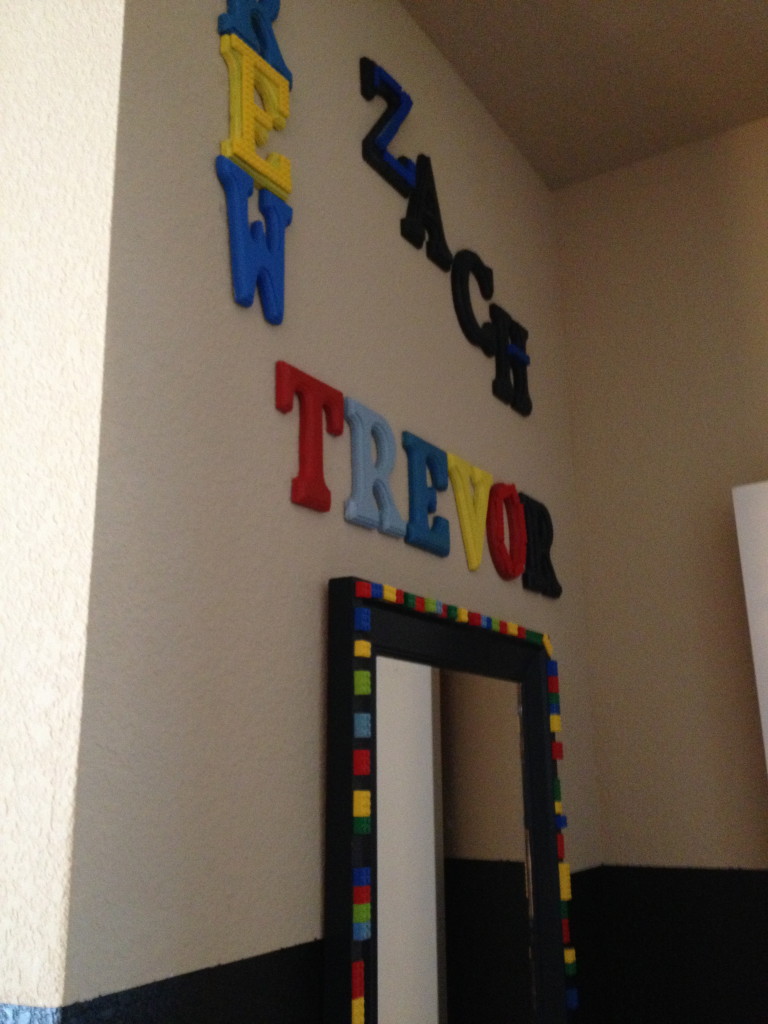
We lined the mirror with them. And, then used some to accent letters in the boys’ names. Toughest part was convincing my son that he didn’t need to build with them, they were for decorating!
I had planned on glueing them onto my drawer pulls as well, but it didn’t work. The pulls were too curved and I didn’t have the budget to replace each pull.
Project 3: LEGO Bedding Accents
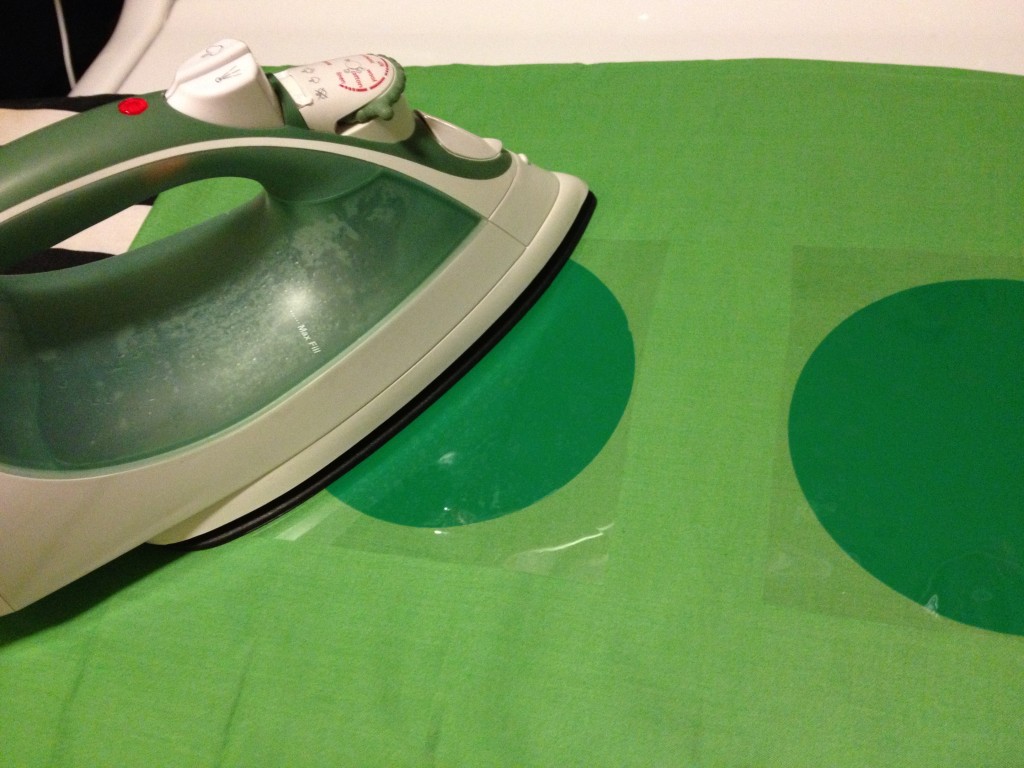
I went to Joann’s and purchased a bunch of primary color cotton fabric when I found it on sale. We (meaning my seamstress mother-in-law and I — I don’t sew.) used the fabric to create simple rectangular and square shaped LEGO pillows. But, we had a problem – they didn’t look like LEGOs without the dots on them! I attempted to cut out fabric circles that we thought could be embroidered on the outside of the pillows, but quickly realized that would be a very time consuming project. (As aforementioned, I have no patience for “time-consuming projects.”)
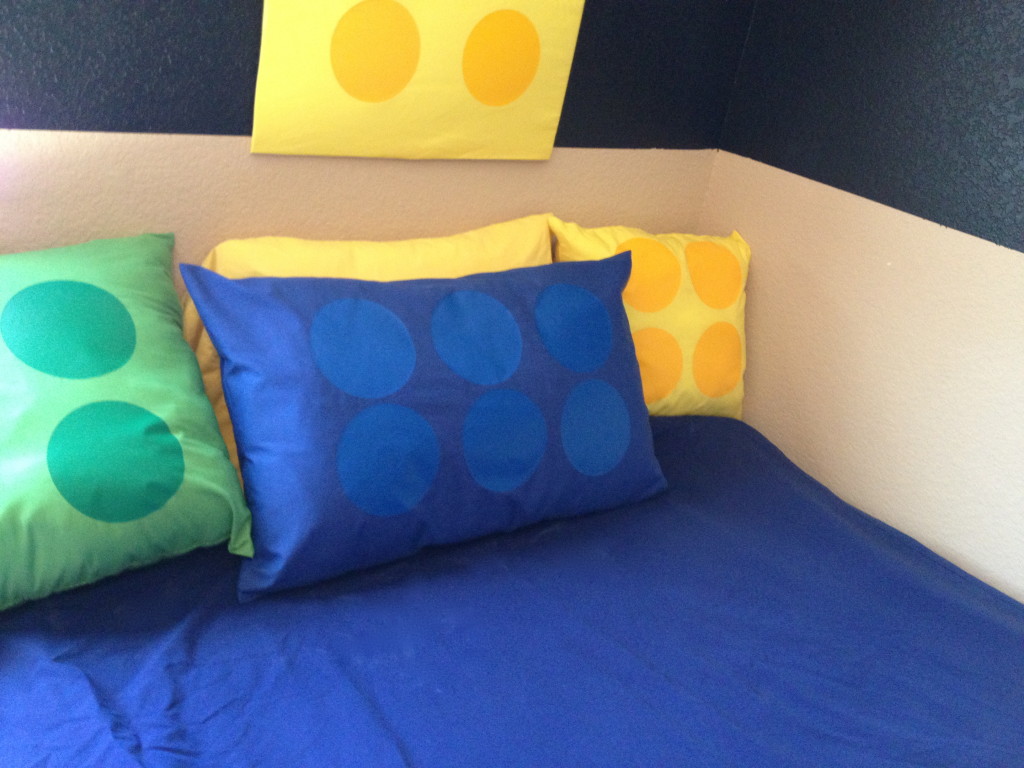
I stared hard at the pillows wondering what I could possibly use as dots. Then, suddenly I remembered I had a friend with a vinyl business! She was able to get me a bunch of iron-on vinyl circles. (Click here if you want Creative Designs by Toni to make you some too). It took a little time to iron each of them on (I’d say allow for 6 minutes per circle of ironing, letting it cool, ironing again, letting it cool, etc…). But, I was very pleased with the final product.
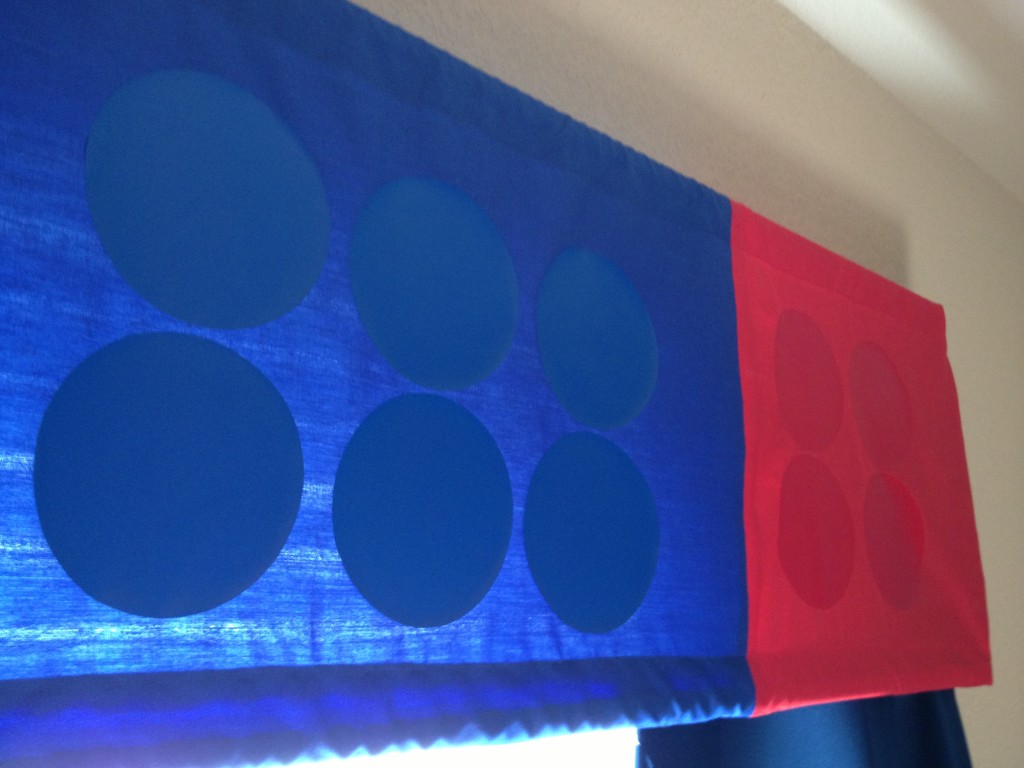
Project 4: Lego Valence
Like I mentioned above, basic LEGO bedding or fabric is just not available in the U.S.. I wanted to keep my theme purely “LEGO” and not be pushed into bedding and accents that featured one of the LEGO product lines like Chima, Star Wars, or Ninjago (all of which do have bedding sets available). I knew the boys would go through phases with the popular themes and I didn’t want to risk all of my work and effort going unappreciated six months from now when they decide they like LEGO City better than LEGO Star Wars!
So, to create a LEGO valence, we were going to have to do it from scratch. From my primary colors fabric, we cut out a rectangular and a square LEGO shape and put them together to create the illusion of a two LEGO brick valence. I had wanted a hard cornice board valence, but my husband wasn’t game for the carpentry part of the project (that would have to take place outside in the August heat). So, instead we added a second opening on the bottom with another curtain rod to give the valence the illusion of being a solid piece.
Project 5: Pulling it all together.
The final step was just pulling everything I had created together into some sort of LEGO order. If only I had a set of directions…like a real LEGO set would….
I ran out of batting to stuff a few more of our homemade LEGO pillows but still had lots of fabric and a few dots leftover. So, I decided to create wall hangings by covering poster board with the dotted fabric. I used a heavy duty craft glue and, of course, ironed the dots on before I glued the fabric to the board. I am pretty happy with the results and it was easier than ordering more posters!
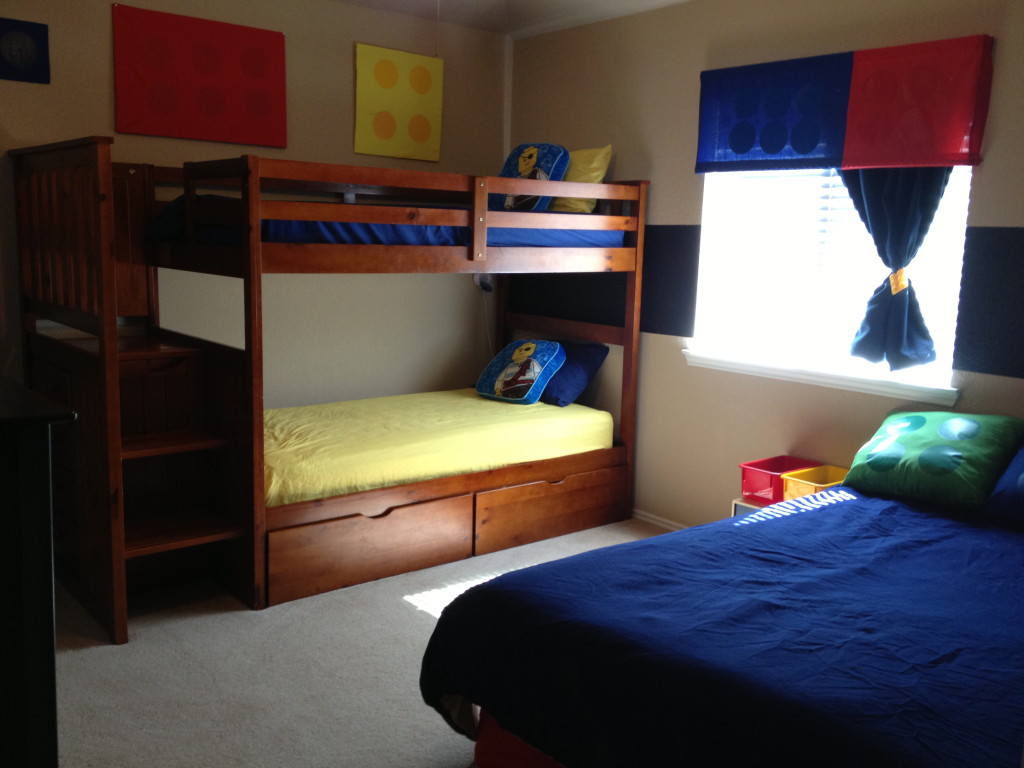
Below are some pictures of the finished room. I purchased a few plastic bins and a basket in the primary colors to add some pops of color and some practical, easy storage spots.
You may also notice the Bed, Bath, and Beyond mini figure pillows on the boys bunk beds. I also added a LEGO luggage tag (found at Target) as a curtain tie. The primary color sheets you see are also from Target and were only $20 a set (and they feel great!). With Christmas right around the corner, I’ll also be encouraging family to help us add some great Lego accessories — like this cool LEGO brick clock!
Side note: If you are wondering where all the toys are in the following pictures…they are in a separate playroom. Because the boys don’t have a lot of space in their bedroom, we decided to keep it mainly for sleeping and let the play happen elsewhere.


I still fantasize about adding more to the room…like mounting their LEGO projects along the walls or making a dozen more of those LEGO canvases into some sort of border. But, for now, my wallet and craft-energy are tapped out. I spent about $300 total on the room including three new sheet sets, two accent pillows, fabric, thread, posters, light switches, LEGOs, another curtain rod, and craft supplies ranging from the blank canvases to the vinyl circles.
Yet another side note: If you have a girl, you could easily do everything I did in the LEGO Friends colors like pinks and purples! Girls can be gaga for LEGOs too!
Thanks for checking out my LEGO room. If I can do it…anyone can! As they say in the LEGO world, “Happy building.”
**Automatic affiliate links may be used in this post.


This looks awesome Heather!
Thanks! Crafting is so not my thing…but this was fun!
You did a great job, I love it!
Great Lego room! I’m starting the process of decorating my boys’ room in DIY Lego decor and plan to blog about it along the way. You have some wonderful and creative ideas.
Karen
mommylove.wordpress.com
dailydevotionswithkaypanda.com
Oh my goodness, how do you know have thousands of comments about how awesome you are!! Good job, mama! I bet your boys loved this. I am so going to THINK about tackling something like this. 🙂 Thanks for the inspiration.
Oh. My. Goodness. This is perfect! I have been working on my boys’ (three ages 2-8) lego room for awhile now and I have no patience for crafts either. Thank you for these great ideas!
I too consider myself creative and resourceful but in no way at all crafty. Very handicapping for those who think of ideas but can’t follow through! This was very inspiring to me as I was looking for a redo for a boy’s bedroom. So glad you have things that don’t need a saw or other power tool and very few that need a needle and thread! I see this as something I can actually do. Thank you sooooo much!
Love the room! I am looking for ideas for my sons’ playroom that I’m trying to make “lego-themed”. How did you make the lego valances? Thanks!
I love the ideas for the Lego room. My favorite site that I could find. I was also interested in what you said about choosing to have you 3 boys share a room. Did you do a blog about that? I could not find one.