


When I started painting and decorating our home, I used the traditional blue painter’s tape. Every time I peeled the tape off, I was disappointed to see paint leaks. No matter what brand of tape I bought or how hard I pressed to seal it, I always was disappointed! Has this happened to you? Are you pinning fancy paint designs, but not confident you can pull them off? I have the secret! For people who like to paint, like myself, it’s life changing!!


How to Paint Crisp Lines:
1. Paint the background color on the wall and allow to dry.
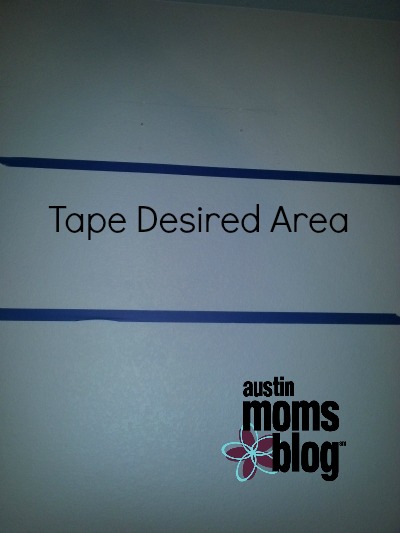
2. Tape off the design you want. I now use the cheapest blue painter’s tape.
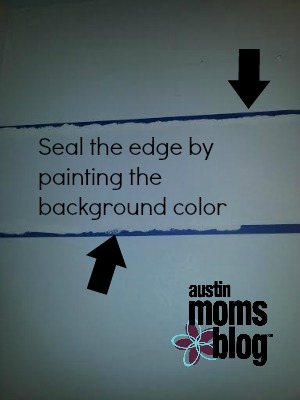
3. Using the background color and a small brush, paint the edge of the painter’s tape. Paint the side you are going to add a new color to later. This essentially seals the edge and the background color gets into the areas under the tape. Allow this to dry.
4. . Paint the section you want to change in the color of your choice. Allow to dry.
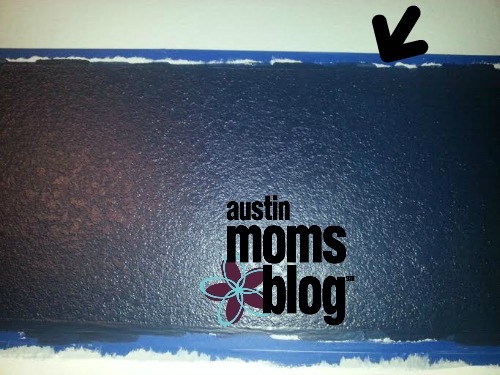
5. Peel the tape off! Perfect huh!? If you do notice a small leak, take a small artist brush to hand paint the leak.
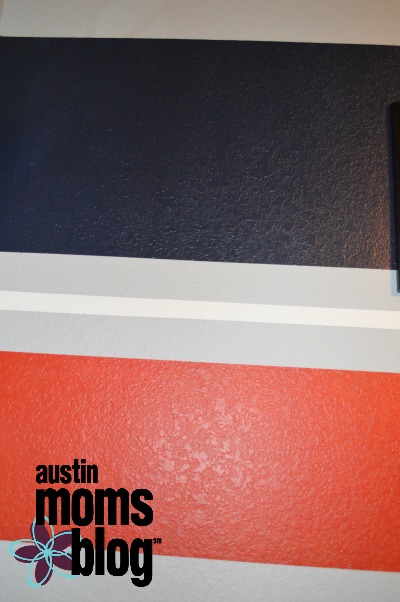
Now, you can start browsing Pinterest or your local paint store to see all the fun painting ideas. I have painted vertical strips, horizontal strips, diamonds and have a few projects up my sleeve involving more painter’s tape and my handy paint roller!
:: What room in your house needs a paint make-over? ::


